This tutorial will hopefully teach you how to add a new Variant to the Game like with my BR101/182 Enhancement/Expansion Packs :), feel free aswell to check out  the video tutorial at the bottom if you feel more comfortable following a visual guide.

The first thing you need to do for any type of TSW mod is create your Plugin, you can name it  as you like, in my case here I am going to name it “VariantPreview” Spaces and Special Charachters can not be used to name your Plugin therefore if you wish to use a space use an underscore “_” instead.
Next you will want to recreate the file strucure used here. which is the same structure DTG uses for their Locomotives.
After having created the file structure import your new texture under the “Textures” folder located in “View”. 
Next, right click on your texture and select the very first option “Create Material”, name it as you wish and open it, in my case I have named it “M_PreviewTex”.
After having opened the material, click on your texture and under Details go to “MipValueMode” and select “MipLevel” so that your Texture is used in full resolution, after that add the Normal Map and MRAO for train your are making a variant for, in my case I am making the Variant for the BR101 therefore my Normal Map and MRAO are located under “NRM_DB_BR1o1 –> View –> Textures –> Exterior” after having added those link the Normal Map to the Normal node and for the MRAO link the Red Channel to Metallic, the Green Channel to Roughness, and the Blue Channel to Ambient Occlusion, Make sure that these Textures are also in “MipLevel” you are now done and can close your Material.
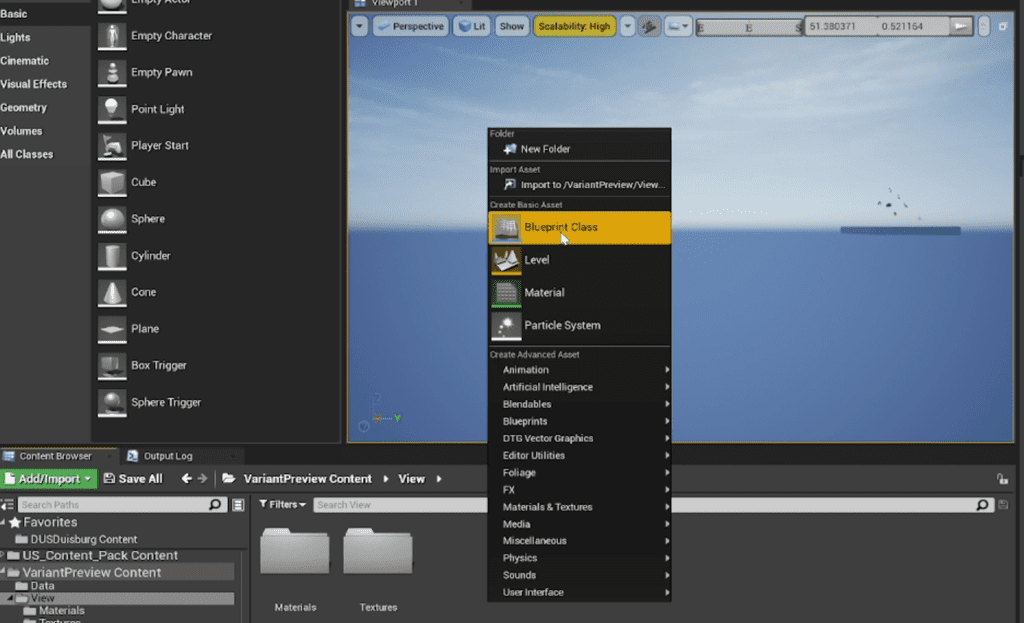
Next under “View” right click and Select “Blueprint Class”
under “All Classes” search up the RVV (RailVehicleView) of your train, in my case I am searching for the BR101 therfore my RVV is called “RVV_NRM_DB_BR101_New” when you find it click on it and let it Load the Packages (The Locomotive Data) after it has loaded, name it as you like and then open it, in my case I have named it “RVV_VariantPreview”.
When you have opened your new RVV, select the locomotive and under “Details” you should see the Materials used find the Matterial your would like to replace, click on it and select your new Material, after that Compile and Save your Blueprint and close it.
Next find the RVD (RailVehicleDefinition) under “Data –> RailVehicleDefinition” of the Locomotive you are creating a variant for, copy and paste it to your new plugin RVD path and rename it as you like, in my case I have named it “RVD_PreviewTex” the RVD is very important because that is how the game identifies your variant.
Inside of the RVD replace the RVV for your New one and leave the RVM (RailVehicleModel) as it is, (you can theoretically also replace that but is not needed for the tutorial here).
After that scroll to the bottom and name it as you like under “Friendly Name” that is the name that is going to appear in the game, after you have done that you can close your RVD save all your work, and you’re ready to cook :).
Scroll to Top